Batch Conversion
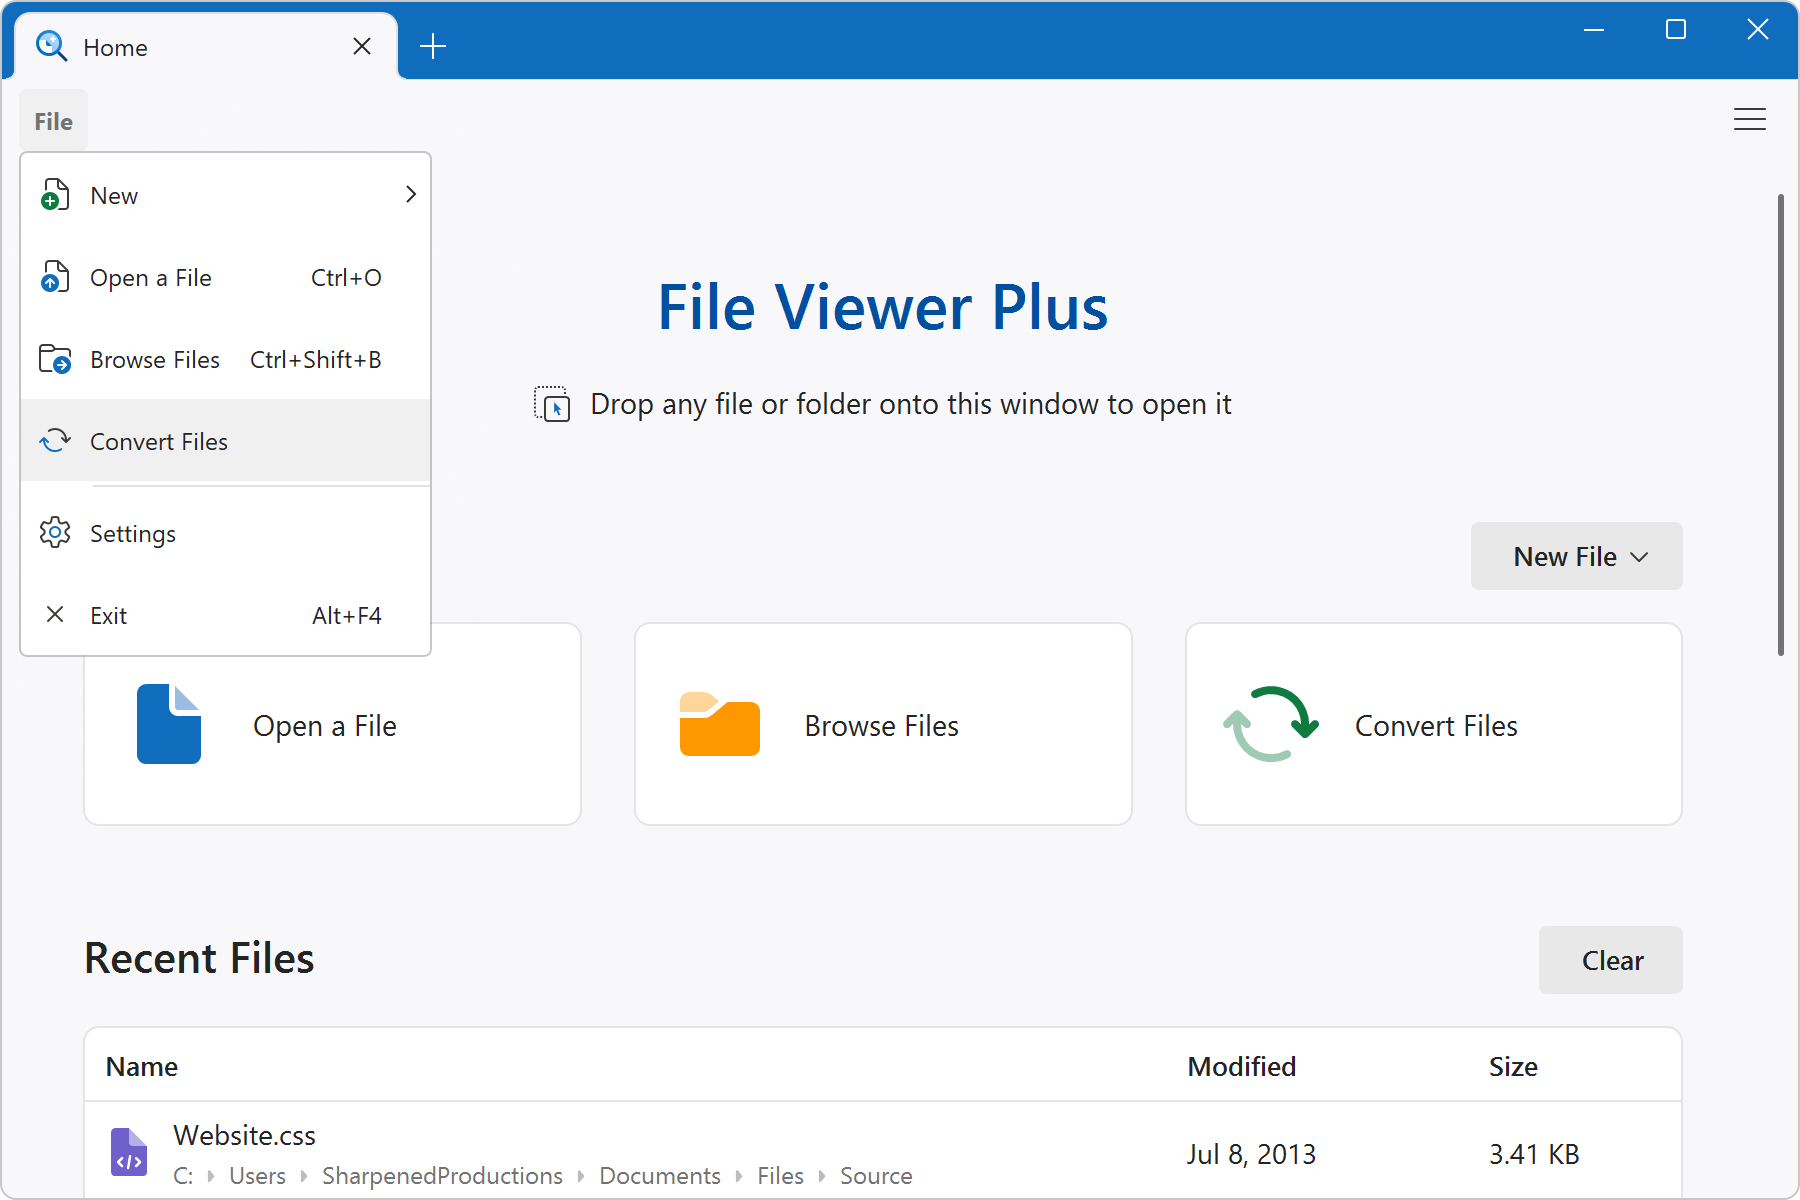
File Viewer Plus includes an advanced batch conversion interface that allows you to convert many files at once. To open the converter, choose Convert Files from the home view or File → Convert Files from the application menu.
The screenshot below shows the batch conversion interface and options for starting a conversion:
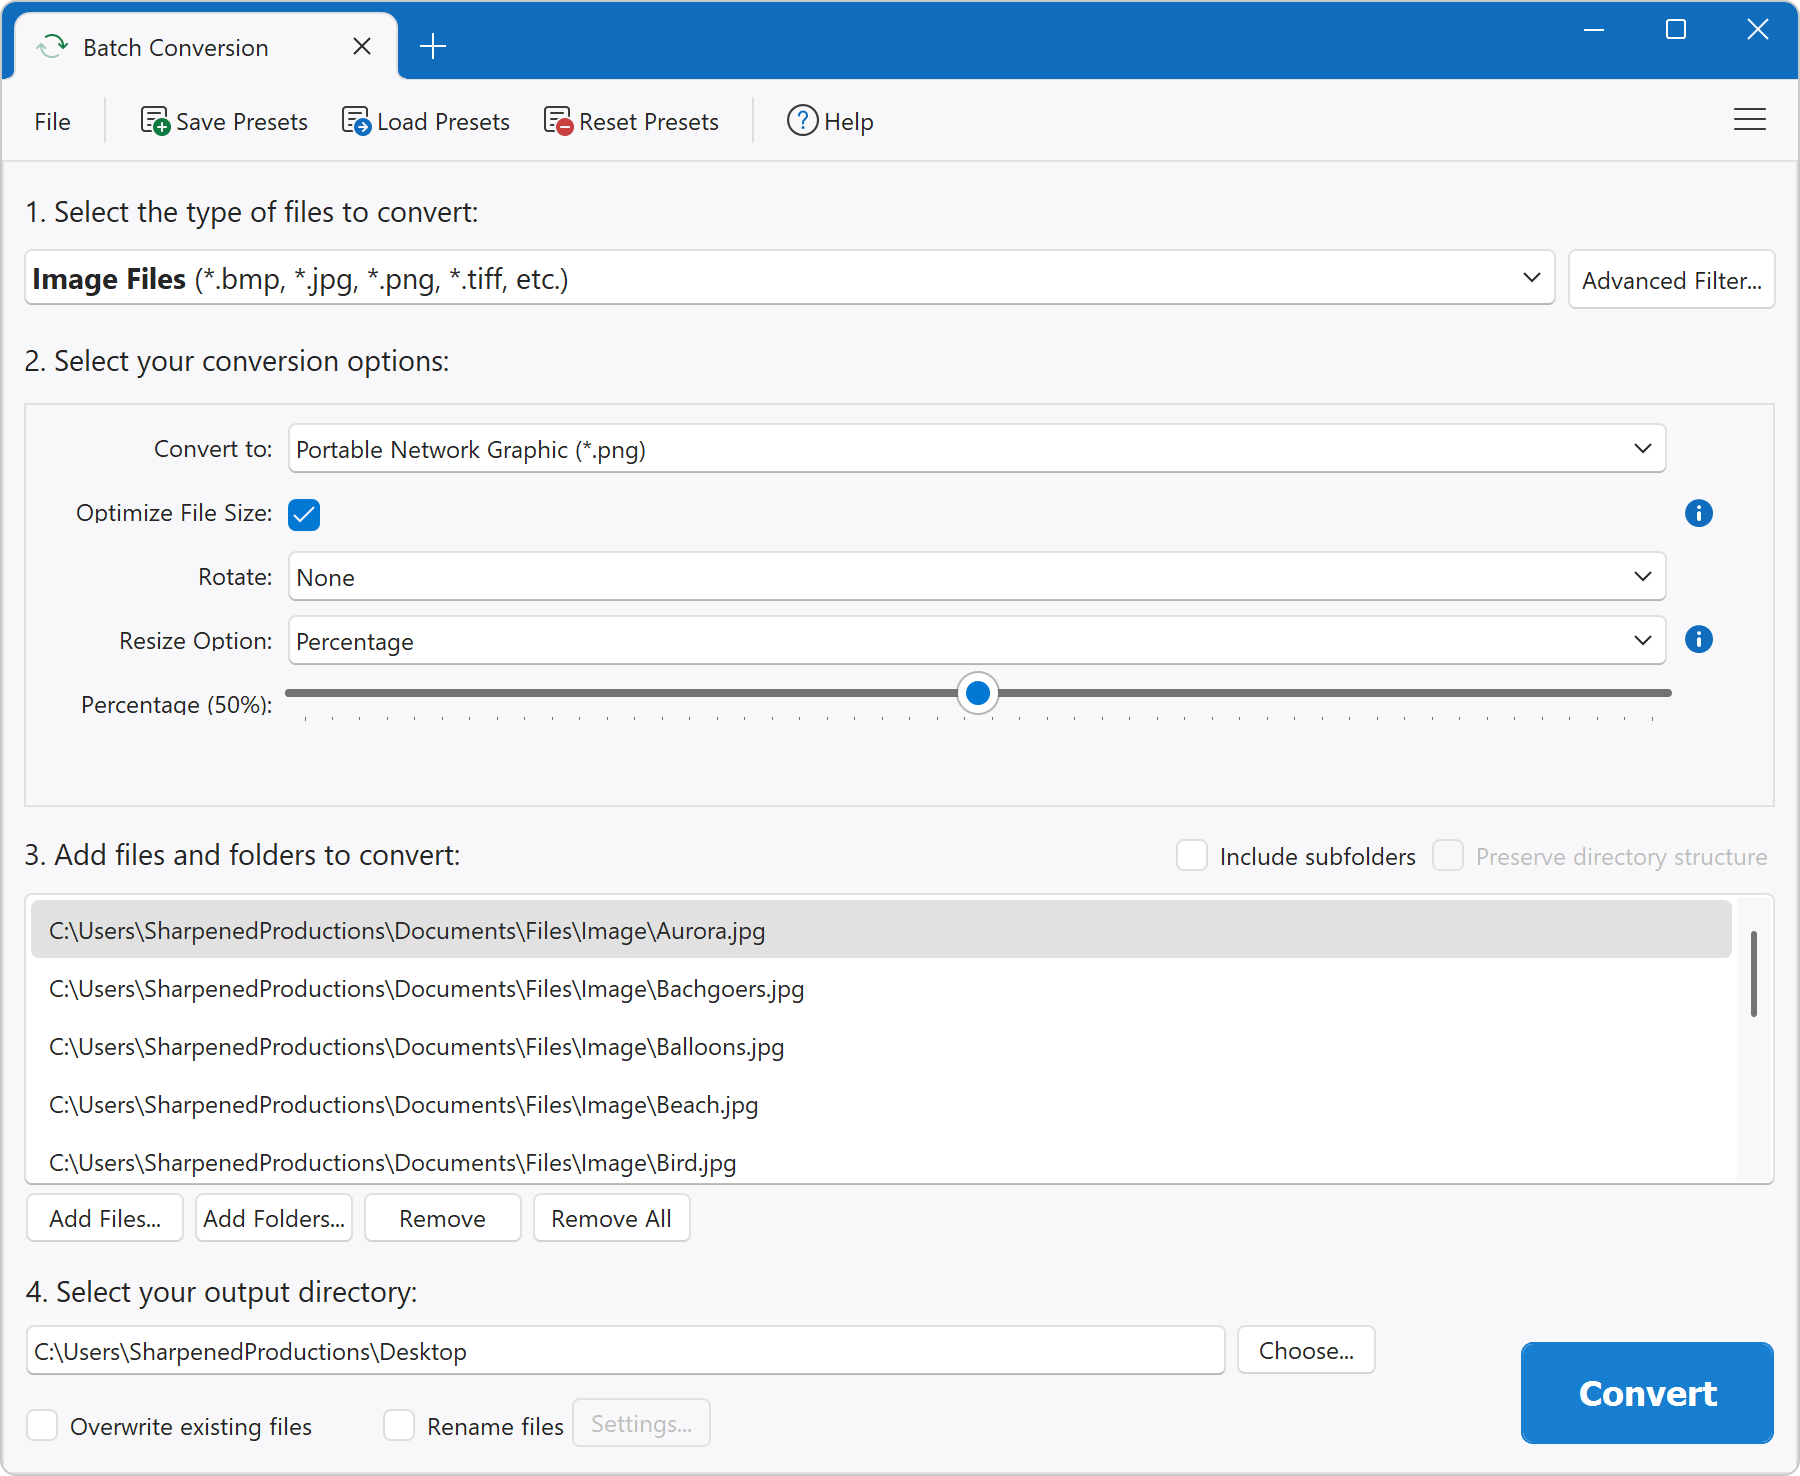
After selecting your options, click Convert to begin the conversion process. When complete, you can go to the target folder to view the output files.
Batch Conversion Options
The batch converter offers an extensive list of options, which are defined below.
1. Select the type of files to convert
The first step is to select the type of files for conversion. The option you choose changes the conversion options on the form.
- Advanced Filter: This button opens the advanced filter. You can check or uncheck file types from the list so that only files that match specific file extensions are included for conversion. For example, if you uncheck all types except ".bmp - Bitmap Image File," then only *.bmp files are converted. If you check the option "Match files by file signature in addition to file extension," File Viewer Plus recognizes input files by binary signature rather than by file extension only. The option increases the accuracy when locating matching input files, but it causes the batch conversion to take longer because of the additional processing required to identify files by signature.
2. Select your conversion options
This part of the form specifies how you want your input files to be converted to output files. The options differ based on which type of files you choose to convert. Use the tooltips on the form for helpful information.
3. Add files and folders to convert
You can include both folders and files in the list of items to convert. Either drag and drop files and folders from Windows File Explorer onto the form or click the Add Files... or Add Folders... buttons to populate the list. The batch converter searches all folders in the list for matching files. See the "Include subfolders" option for details on subfolder searching.
- Include subfolders: When checked, the batch converter searches recursively through subfolders for files to convert. For example, if C:\files is in the list of folders, then files within C:\files\subfolder1 and C:\files\subfolder2 will be converted. If unchecked, files within C:\files\subfolder1 and C:\files\subfolder2 are not converted. If no folders are included in the list of files and folders to convert, then this option has no effect.
- Preserve directory structure: If checked, the directory structure of folders and subfolders will be preserved in the output directory. If unchecked, all converted files are saved immediately within the output directory. The option is only available if you choose to include subfolders.
4. Select your output directory
- Output directory: Specifies the target path location where the converted files are saved.
- Overwrite existing files: If checked, any preexisting file in the output directory that has the same filename as a converted output file is overwritten. For example, if the file image.png is converted to image.jpg (PNG to JPEG conversion) and image.jpg already exists in your output directory, it will be overwritten. If this option is unchecked or if you use an empty directory as the output directory, then no files are overwritten.
- Rename files: If checked, the batch converter renames the output files according to the options selected in the Settings... window. If unchecked, the batch converter creates output files with the same filenames as the input filenames.
When you check "Rename files" and click the Settings... button, a renaming options window displays. There are two different ways output files can be renamed from their corresponding input files, either using a filename counter or applying add/replace options.
- Base Filename: Every output filename begins with this prefix.
- Counter Start Value: The starting number that is appended to the base filename. The number increments for each successive output file.
- Counter Leading 0s: The number of 0s that are added before the counter start value. Using this option helps output files to be sorted by name in Windows File Explorer. For example, img01.jpg is sorted before img10.jpg.
- Add Prefix: Every output filename begins with this prefix. If blank, no prefix is used.
- Add Suffix: Every output filename ends with this suffix. For example, for suffix=end and input filename myfile.jpg, the output filename is myfileend.jpg.
- Replace/With: Specifies a string in the input filename to be replaced in the output filename. For example, if replace=file and with=image for the input file myfile1.jpg, the output filename is myimage1.jpg.
Saving and Loading Batch Presets (.fvp Files)
You can save and load batch conversion options by clicking Save Presets and Load Presets. File Viewer Plus saves presets with the file extension .fvp ("File Viewer Plus"). Presets store options for the entire form, including the file renaming window. You may save any number of presets files to use at a later time.