Image Files
File Viewer Plus opens over 80 different image formats, including raster images, vector images, and camera raws. It includes an editor that can modify images and save changes to standard output formats such as JPEG, PNG, and TIFF. The editor allows image navigation between related files within the same directory. It also supports viewing and printing for multi-page formats such as animated GIFs and multi-page TIFFs.
Viewing Images
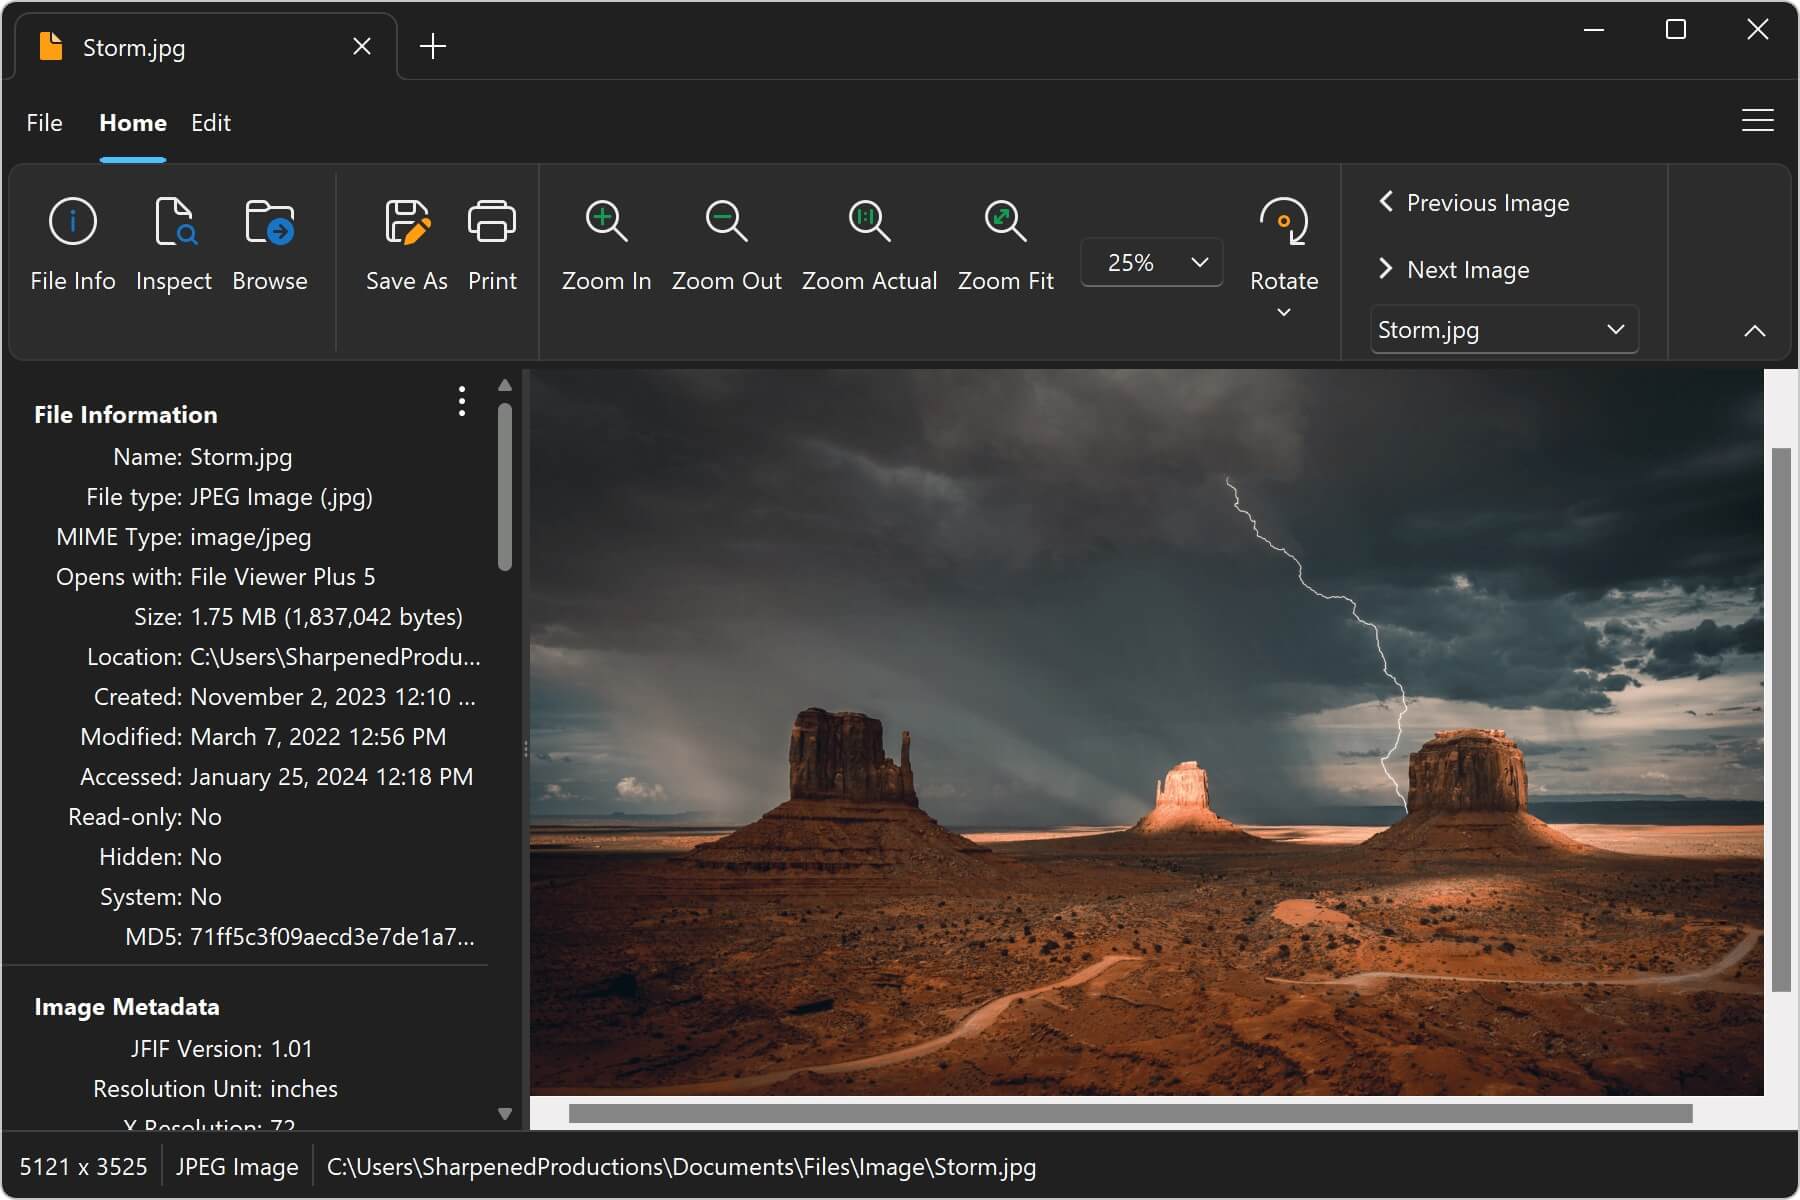
The ribbon contains options for viewing, saving, and printing images. To view metadata stored in a file, click the File Info button to open the File Information panel. To browse related files in the image's directory, click the Browse button to open the File Browser.
Saving Images
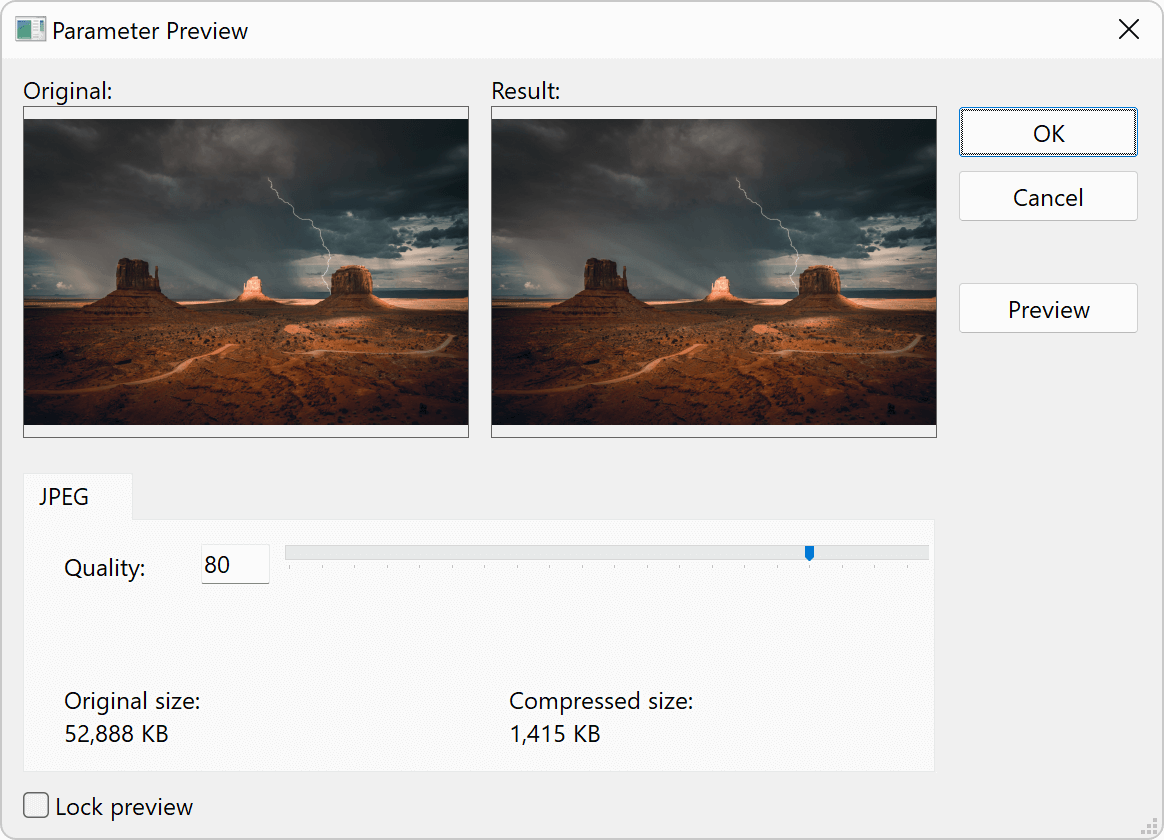
File Viewer Plus can save images to several different formats, including JPEG, PNG, and TIFF. To open the save dialog, click File → Save As from the application menu. Some output formats include advanced save options, such as JPEG, PNG, GIF, and BMP. To access the options, click the Advanced button, then choose settings such as file size and output quality before saving.
To batch convert images, please refer to the section on batch conversion.
Printing Images
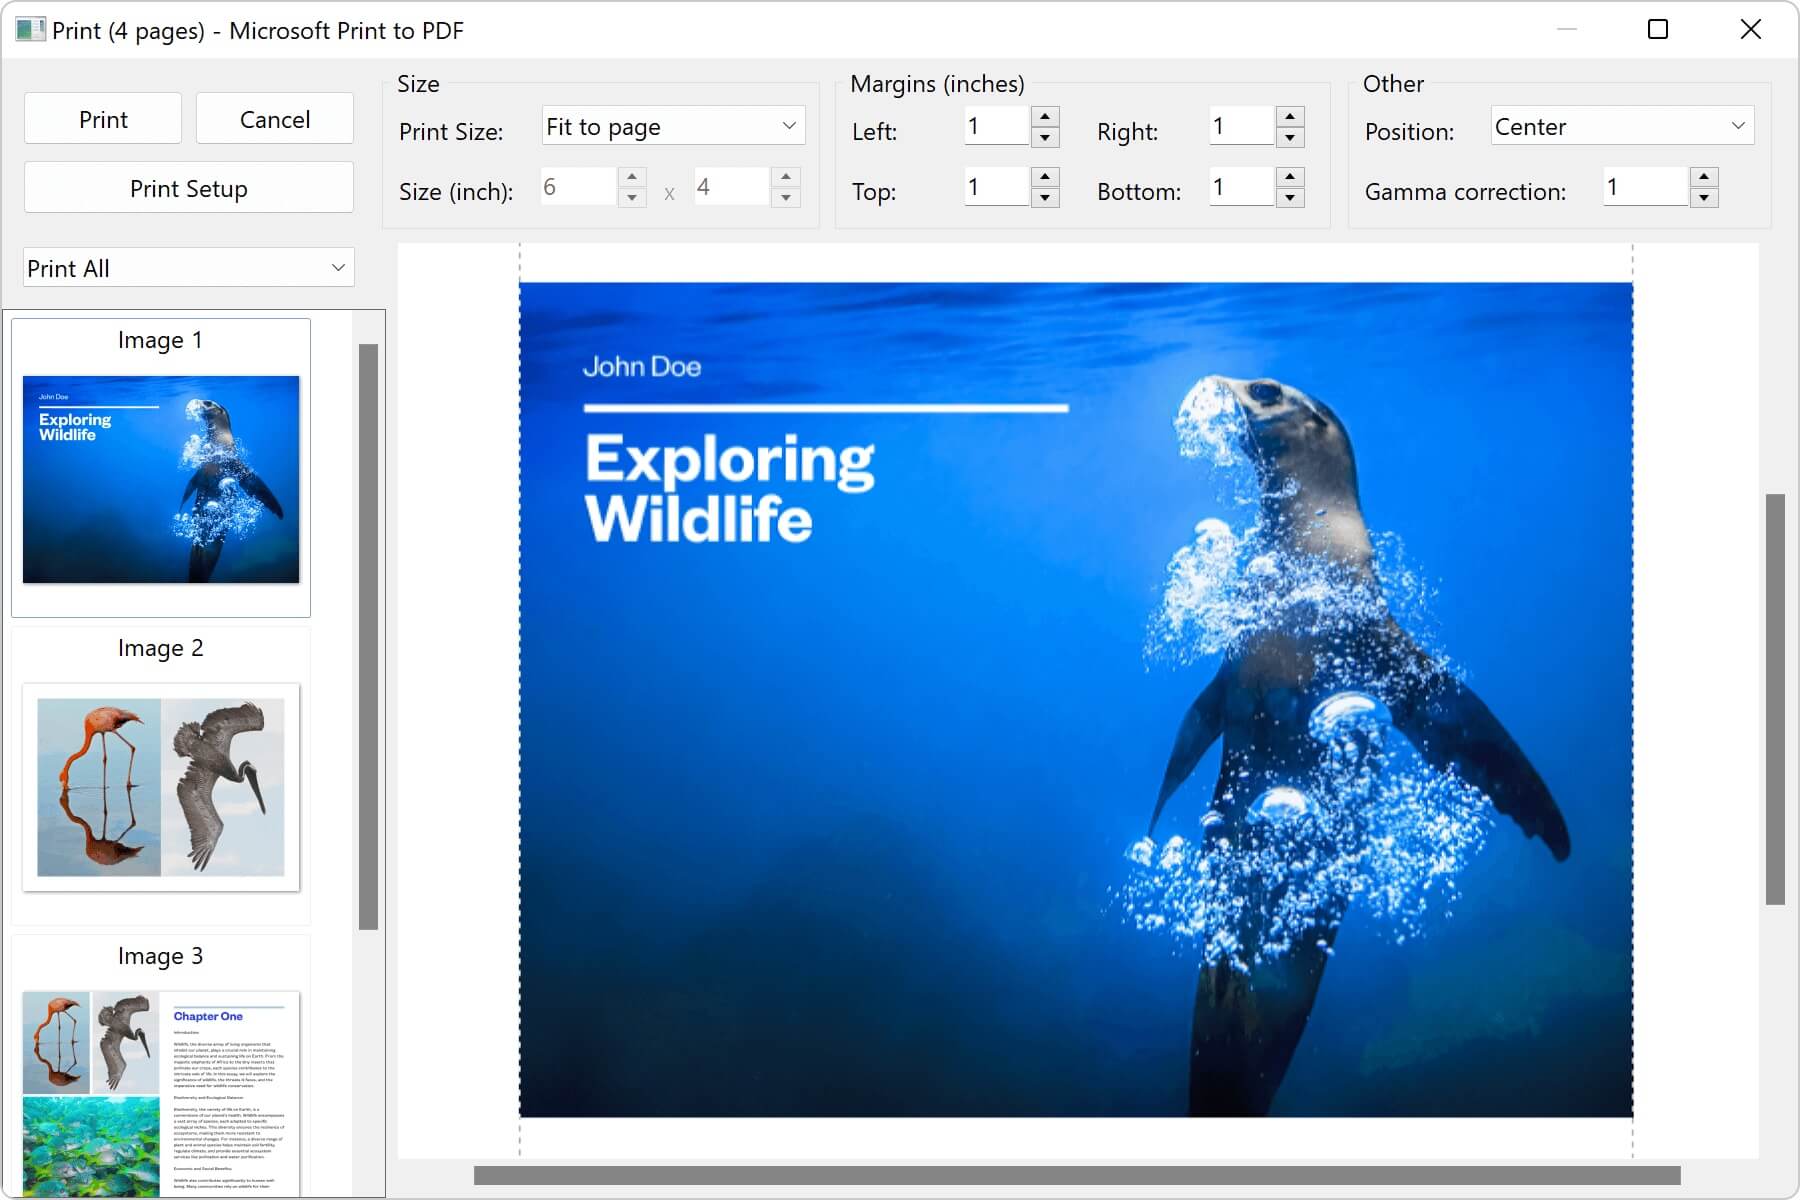
To print an image, choose File → Print. A print dialog displays, allowing you to customize your output before sending to the target printing device. File Viewer Plus supports single-page image printing as well as multi-page image printing. Below is an example of the print dialog for a multi-page TIFF image.
Editing Images
The Edit tab contains options for modifying your images. Options include resize, select, copy, crop, adjustments, and effects.
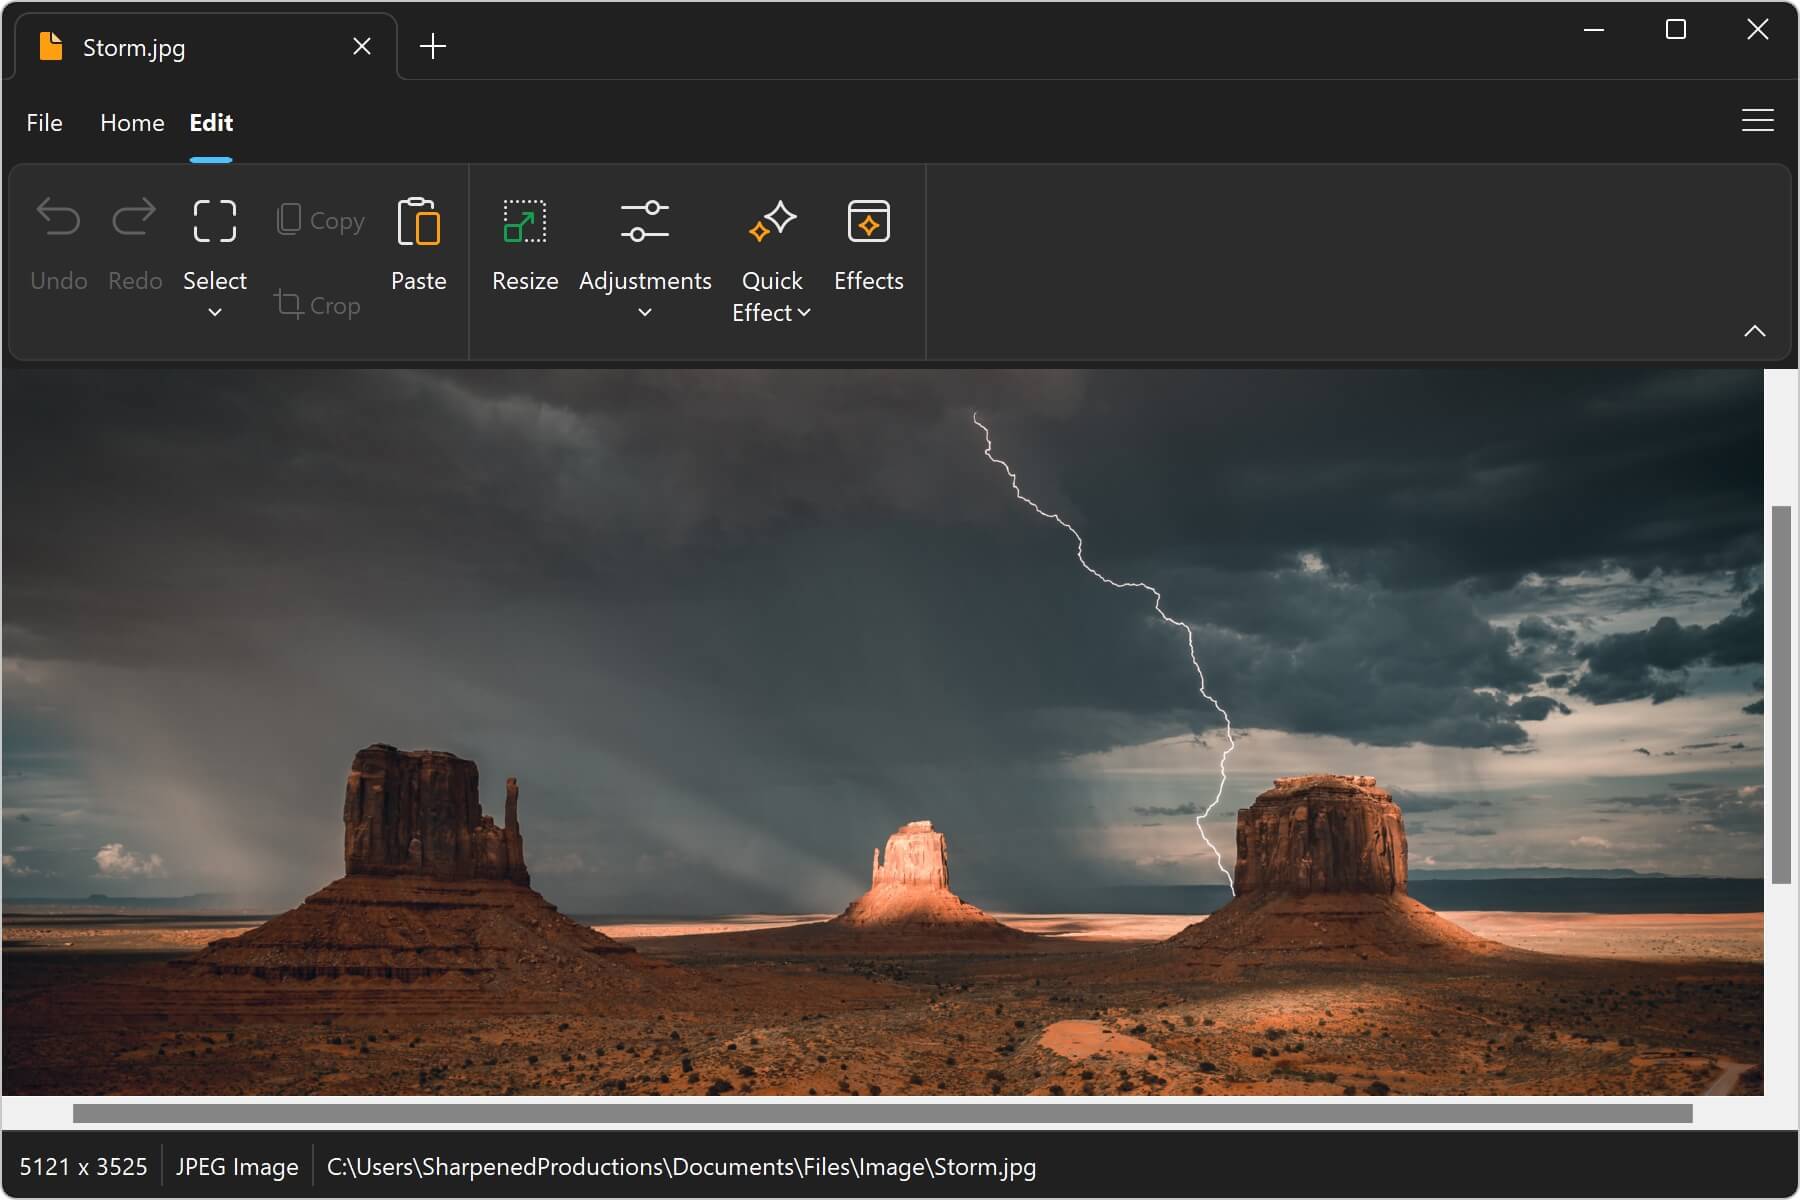
Below are descriptions of image editing options that are available in the Edit tab:
Undo & Redo
Undo or redo any modifications you have made to your image.
Select
Select allows you to choose portions of your image for copying or cropping.
- Hand tool: Select and drag the image.
- Select rectangle tool: Select a rectangular shape, then crop or apply an effect to the selected area.
- Select ellipse tool: Select an elliptical area.
- Select polygon: Select an area defined by a series of points. To finalize the selection, click the first point for the polygon, which then applies the selection.
Resize
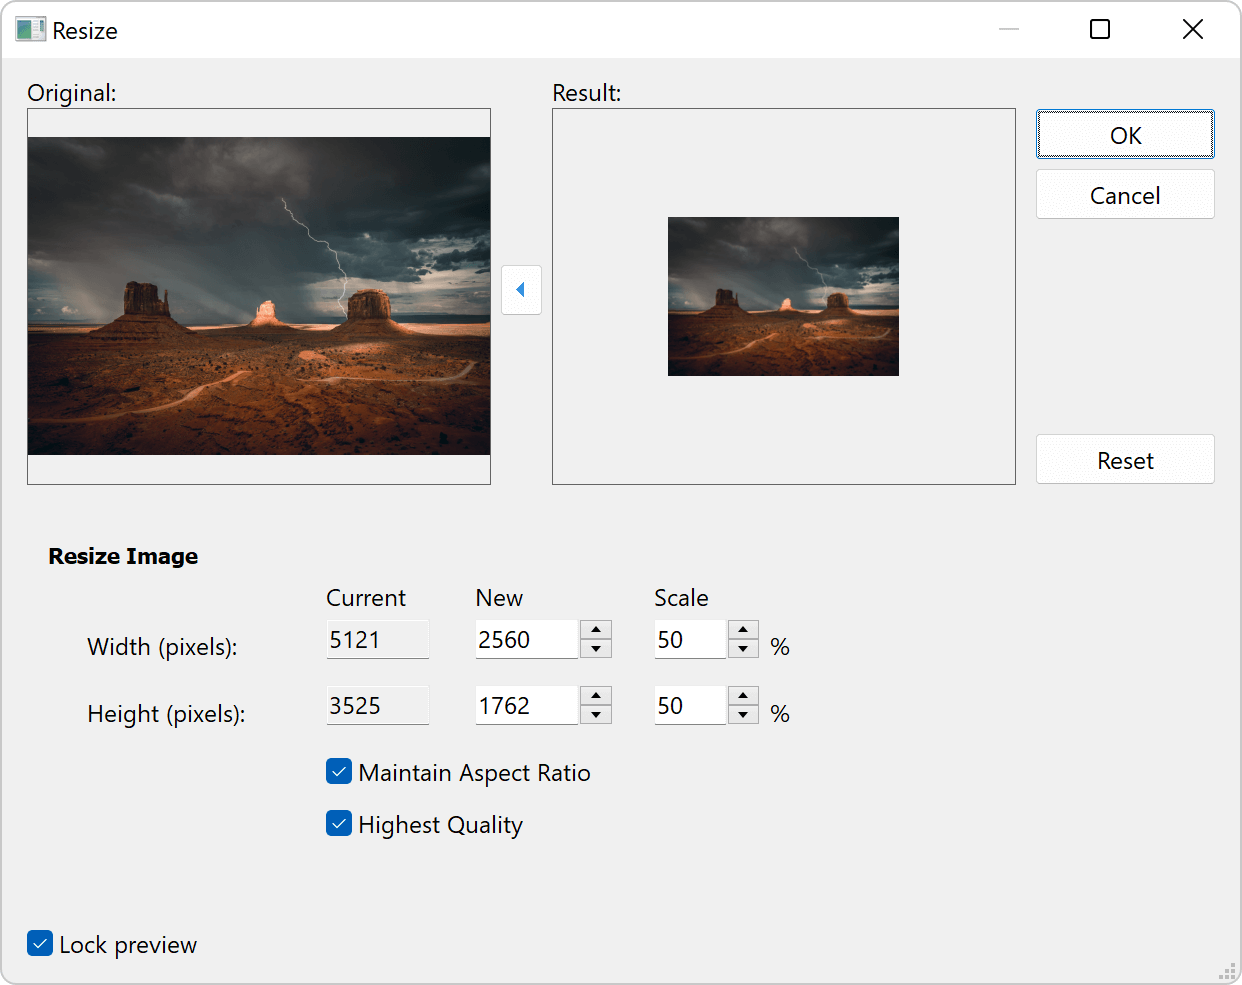
Resize opens a dialog allowing you to choose a custom size and maintain aspect ratio when resizing.
Adjustments
Apply any of the following adjustments to the image: brightness/contrast, gamma correct, color adjust, sharpen, convert to grayscale, remove red eye.
Quick Effect
Quick effects are a fun feature and allow you to enhance your photos in a single click. The following effects are available: soft vintage, vintage, heavy vintage, leather, strong leather, liquid metal, flare.
Effects
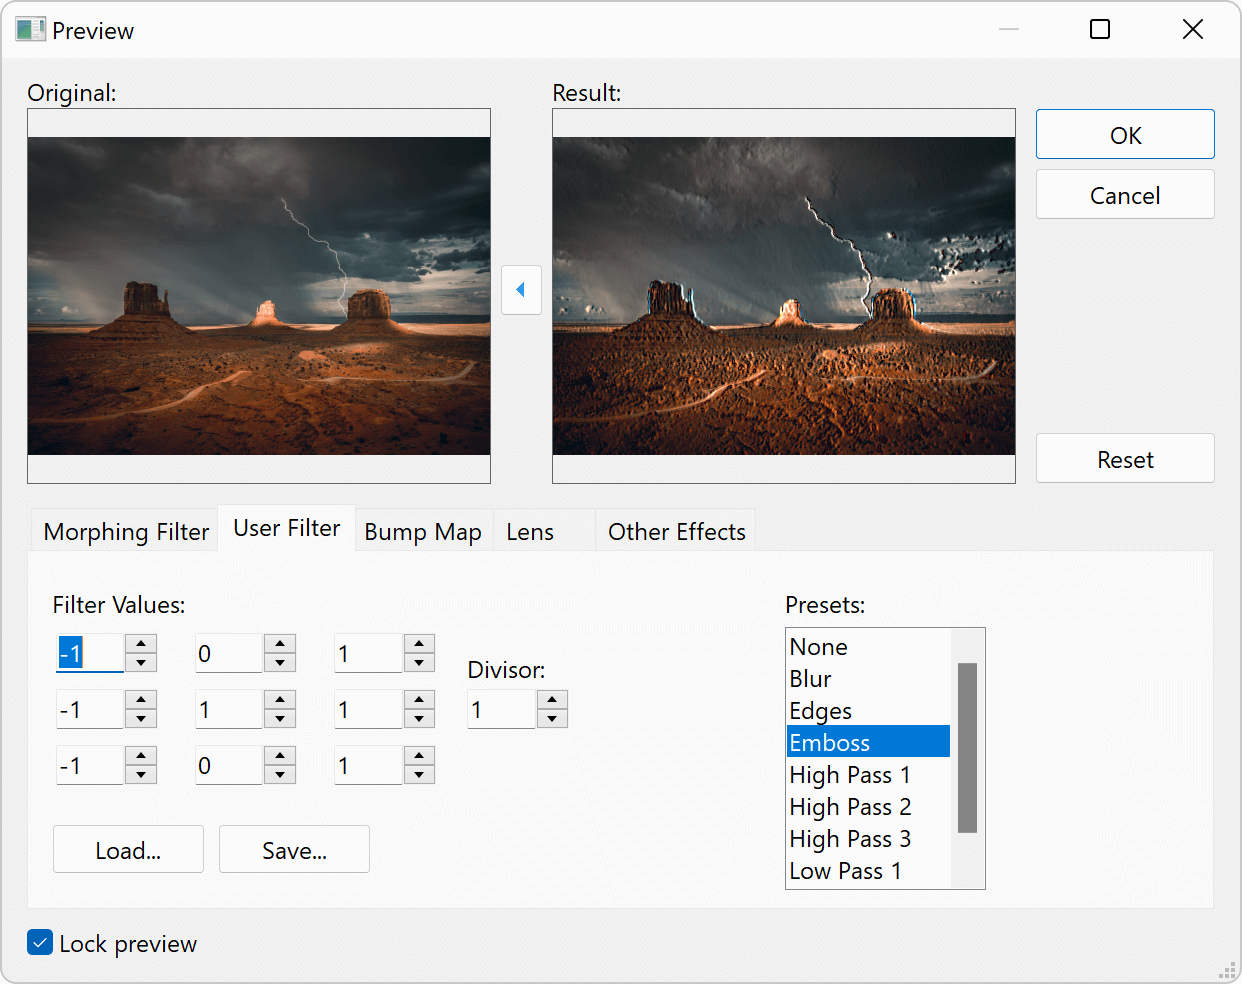
Open the effects dialog to apply advanced effects options, including blur, edges, emboss, bump map, lens, wave, and morphing.
